1. Introduction to Butterfinger Cake
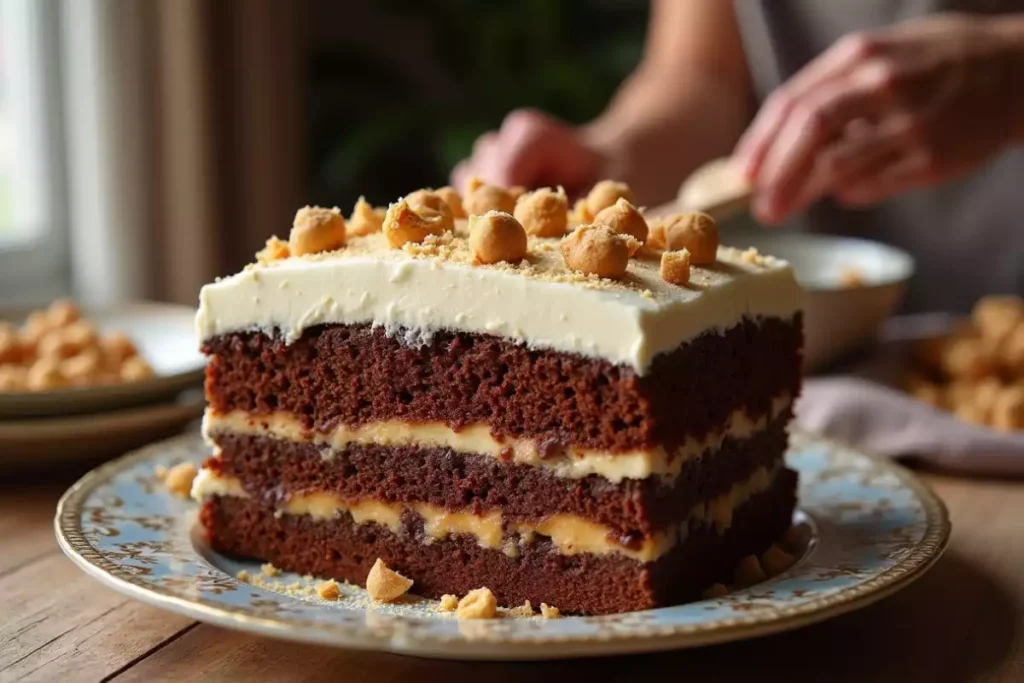
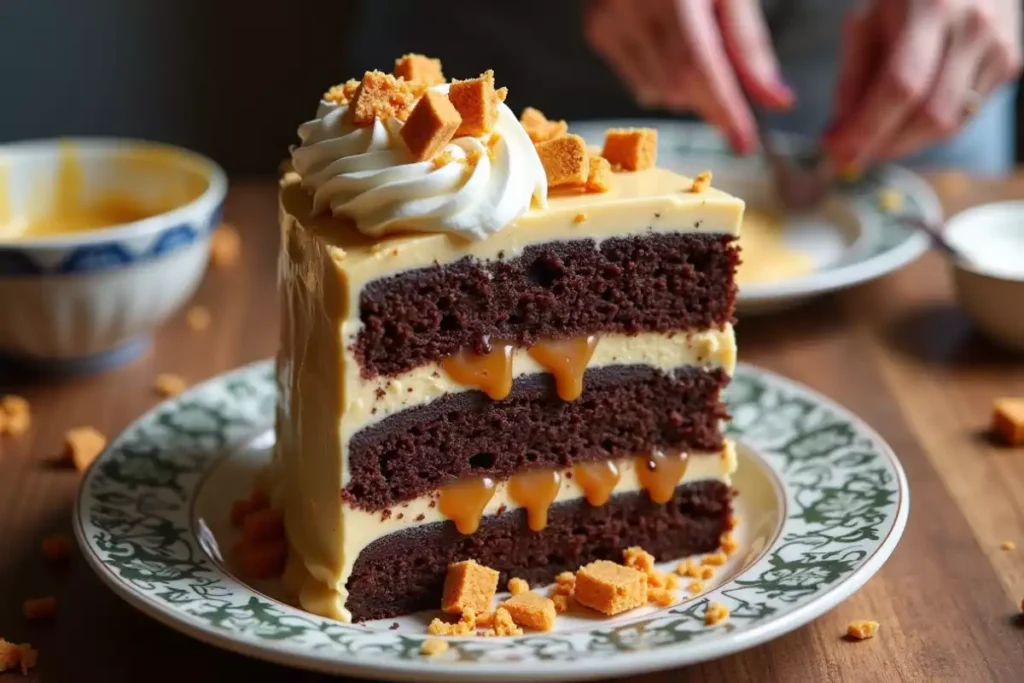
If you’re searching for a dessert that combines rich flavors with a delightful crunch, look no further than the Butterfinger cake. This indulgent treat marries the moistness of a classic chocolate cake with the distinctive taste of Butterfinger candy bars, resulting in a confection that’s both satisfying and memorable. Whether you’re celebrating a special occasion or just craving a sweet treat, this cake will definitely impress. To expand your baking horizons, you might also enjoy exploring our Dulce de Leche Cake, which offers an equally rich caramel flavor.
2. History and Origin of Butterfinger Cake
The Butterfinger candy bar has been a beloved treat since its introduction in the 1920s, known for its crispy, peanut butter-flavored core enveloped in chocolate. Over time, creative bakers began to incorporate this popular candy into various desserts, eventually leading to the creation of the Butterfinger cake. As a result, it has become a favorite among dessert enthusiasts, celebrated for its unique texture and flavor profile. Consequently, this cake is often featured in gatherings and special events due to its irresistible appeal.
3. Ingredients Needed for Butterfinger Cake
Before you dive into the baking process, it is essential to gather the following ingredients to ensure a smooth preparation. By having everything ready, you can avoid any last-minute scrambling in the kitchen.
Cake Base:
- 1 box of devil’s food cake mix (or your preferred chocolate cake mix)
- Eggs, oil, and water as specified on the cake mix package
Filling:
- 1 can of sweetened condensed milk
- 1 jar of caramel topping
Toppings:
- 1 container of whipped topping (or freshly made whipped cream)
- 4-5 Butterfinger candy bars, crushed
Optional Ingredient Substitutes:
For a homemade touch, consider baking the cake base from scratch using your favorite chocolate cake recipe. Additionally, you can substitute store-bought whipped topping with freshly whipped cream for enhanced flavor. Furthermore, this substitution adds a rich, fresh taste to the overall dessert.

4. Step-by-Step Instructions to Make Butterfinger Cake
1. Preparing the Cake Base
Begin by preheating your oven as directed on the cake mix package. Then, prepare the cake batter as directed and pour it into a greased 9×13-inch baking pan. Make sure to bake the cake according to the package instructions.To see if the cake is finished baking, place a toothpick into the center. If it comes out without any batter, the cake has finished baking. Additionally, let the cake cool slightly before moving on to the next step.
2. Creating the Filling
Meanwhile, mix the sweetened condensed milk and caramel topping in a bowl until thoroughly combined. This step ensures that the filling is evenly mixed and ready to infuse the cake with sweetness. As you do this, make sure the mixture is smooth for an even distribution.
3. Assembling the Cake
After baking, take the cake out of the oven and let it cool for approximately 10 minutes. After that, use the handle of a wooden spoon to poke holes across the entire surface of the cake, spacing them approximately one inch apart. This method helps the filling to penetrate deeply into the cake layers. Next, pour the caramel and condensed milk mixture evenly over the cake.While doing this, make sure it soaks into the holes for optimal flavor infusion. Additionally, be patient and allow the mixture to fully absorb into the cake for the best results.
4. Adding the Toppings
After the cake has cooled completely, spread the whipped topping evenly over the surface. Finally, sprinkle the crushed Butterfinger candy bars generously over the whipped topping to finish. This final step adds a satisfying crunch and enhances the flavor of the dessert.
5. Tips and Tricks for the Perfect Butterfinger Cake
To create the perfect Butterfinger cake, follow these expert tips:
- Ensure Even Absorption: When poking holes in the cake, make sure they are deep enough to allow the filling to reach the bottom. This ensures that each bite is moist and flavorful. Furthermore, be mindful of the spacing to achieve an even distribution.
- Achieve Ideal Texture: For a richer texture, consider substituting water with whole milk or buttermilk when preparing the cake mix. This easy substitution can have a notable impact. You could also enhance the chocolate flavor by mixing in a teaspoon of instant coffee to the batter.
- Storage Suggestions: To keep the cake fresh, store it in the refrigerator for up to three days. This helps maintain its texture and flavor.Also, make sure it is tightly covered to stop the whipped topping from picking up any refrigerator odors.
6. Variations of the Butterfinger Cake Recipe
Looking for creative twists on the classic Butterfinger cake? Consider trying these fun alternatives:
- Butterfinger Poke Cake: Use a yellow cake mix as the base and follow the same filling and topping procedures. This variation offers a slightly different flavor profile while keeping the original concept intact.
- Butterfinger Ice Cream Cake: For a refreshing twist, layer vanilla ice cream between a cookie crust and crushed Butterfinger pieces. This version is perfect for summer gatherings and adds a chilled, creamy element to the dessert.
- Gluten-Free Adaptation: Use a gluten-free chocolate cake mix and ensure that all other ingredients are certified gluten-free to accommodate dietary needs. Additionally, check that the candy bars and toppings are gluten-free to maintain the integrity of the recipe.
For more fun cake ideas, you should check out our Cotton Candy Cake Recipe, which adds a whimsical touch to any dessert table.
7. Nutritional Information and Considerations
While the Butterfinger cake is a delectable treat, it’s good to be aware of its nutritional content. Grasping these details enables you to make well-informed choices.
- Calories: Approximately 450 per serving
- Key Nutrients: High in sugar and saturated fat; moderate in protein
- Healthier Alternatives: To reduce calorie intake, consider using a low-sugar caramel sauce and light whipped topping. Additionally, you could use reduced-fat ingredients without compromising too much on flavor.
If you’re looking for other delicious yet lighter options, our Quick and Easy Sliders Recipe makes a perfect savory complement.

8. Pairing Suggestions for Butterfinger Cake
To elevate your Butterfinger cake experience, consider these complementary pairings:
- Beverages: A cold glass of milk, hot coffee, or a creamy latte pairs well with the rich flavors of the cake. Additionally, a warm cup of hot chocolate can enhance the dessert’s chocolatey notes. For a more sophisticated pairing, try serving with a dessert wine like port.
- Side Dishes: Serve alongside a scoop of vanilla ice cream or a bowl of fresh strawberries for a refreshing contrast. Moreover, adding a drizzle of caramel sauce on the side can take the experience up a notch. For those who enjoy a little tang, a spoonful of lemon sorbet can be a surprising yet delightful pairing.
9. Frequently Asked Questions (FAQs) about Butterfinger Cake
- Is it possible to substitute another candy bar for Butterfinger?
- Yes, if you’d like to try a different twist, you can substitute Snickers, Reese’s Peanut Butter Cups, or Heath bars for a similar effect. Additionally, experimenting with different candy bars can add a unique spin to the cake.
- How should I store leftover Butterfinger cake?
- Cover the cake with plastic wrap or store it in an airtight container and refrigerate. This way, it will stay fresh for up to three days. Furthermore, keeping it covered helps prevent the whipped topping from absorbing other flavors.
- Can I make Butterfinger cake ahead of time?
- Absolutely! Prepare the cake a day in advance, but add the whipped topping and crushed Butterfinger pieces just before serving to maintain its freshness.
- Is it possible to freeze Butterfinger cake?
- Yes, you can freeze the cake without the whipped topping for up to a month. When you’re ready to serve, thaw it in the refrigerator and add the whipped topping and crushed candy pieces. For best results, wrap it tightly in plastic wrap before freezing.
- What can I use as a substitute for whipped topping?
- Homemade whipped cream is a great alternative. Simply whip heavy cream with a bit of sugar until soft peaks form, then spread it over the cake. Additionally, adding a hint of vanilla extract to the whipped cream can enhance the overall flavor.
To explore other decadent cake ideas, don’t miss our Easy Chocolate Pudding Cake, perfect for chocolate lovers.
10. Reader Reviews and Testimonials
Reader Testimonials:
- “I made this cake for a family gathering, and it was an instant hit! The combination of chocolate, caramel, and Butterfinger is absolutely delicious.”
- “This is the perfect potluck dessert—so easy to make and everyone loves it!”
- “The cake turned out incredibly moist, and the Butterfinger topping added the perfect crunch. I’ll definitely be making this again.”
11. Conclusion and Final Thoughts
The Butterfinger cake is a show-stopping dessert that combines the best of rich chocolate, gooey caramel, and crunchy candy bar toppings. With easy steps and minimal ingredients, this recipe is perfect for both beginner and seasoned bak
ers. Whether you’re hosting a party or treating yourself to a special dessert, this cake is sure to be a crowd-pleaser. For a lighter yet equally tasty treat, explore our No-Bake Lemon Cheesecake Recipe.
Overall, gather your ingredients, follow these steps, and get ready to wow your friends and family with this irresistible Butterfinger cake recipe!

Butterfinger Cake Recipe
Ingredients
- Cake Base:
- 1 box of devil’s food cake mix or your preferred chocolate cake mix
- Eggs oil, and water as specified on the cake mix package
- Filling:
- 1 can of sweetened condensed milk
- 1 jar of caramel topping
- Toppings:
- 1 container of whipped topping or freshly made whipped cream
- 4-5 Butterfinger candy bars crushed
Instructions
Preparing the Cake Base
- Begin by preheating your oven as directed on the cake mix package. Then, prepare the cake batter as directed and pour it into a greased 9×13-inch baking pan. Make sure to bake the cake according to the package instructions.To see if the cake is finished baking, place a toothpick into the center. If it comes out without any batter, the cake has finished baking. Additionally, let the cake cool slightly before moving on to the next step.
Creating the Filling
- Meanwhile, mix the sweetened condensed milk and caramel topping in a bowl until thoroughly combined. This step ensures that the filling is evenly mixed and ready to infuse the cake with sweetness. As you do this, make sure the mixture is smooth for an even distribution.
Assembling the Cake
- After baking, take the cake out of the oven and let it cool for approximately 10 minutes. After that, use the handle of a wooden spoon to poke holes across the entire surface of the cake, spacing them approximately one inch apart. This method helps the filling to penetrate deeply into the cake layers. Next, pour the caramel and condensed milk mixture evenly over the cake.While doing this, make sure it soaks into the holes for optimal flavor infusion. Additionally, be patient and allow the mixture to fully absorb into the cake for the best results.
Adding the Toppings
- After the cake has cooled completely, spread the whipped topping evenly over the surface. Finally, sprinkle the crushed Butterfinger candy bars generously over the whipped topping to finish. This final step adds a satisfying crunch and enhances the flavor of the dessert.
Notes
- For best results, allow the caramel and condensed milk filling to fully absorb into the cake before adding the whipped topping.
- Crushed Butterfinger pieces can be added just before serving to maintain their signature crunch.
- Feel free to experiment by substituting Butterfinger with other candy bars like Reese’s or Snickers for a fun twist.
- Store any leftovers in the refrigerator for up to three days for optimal freshness.

